Next.js Blog Tutorial - Part 1
Set up a Next.js project and learn the basics.
What is Next.js?
Next.js is a React Framework that provides
a positive and guided frontend developer experience. It (along with other React apps) uses jsx to
combine JavaScript and HTML together into single files, allowing you to easily reuse code and components (like
navigation) across your site. Other cool features include:
- Prefetching pages for faster load times.
- Server-side rendering for better search engine optimization (SEO).
- File/folder-based routing to make page creation and navigation easy to set up.
Source: https://nextjs.org/learn/basics/create-nextjs-app. Consider visiting that page for a more in-depth Next.js tutorial after this one.
Project Scope and Structure
In this series of tutorials, we will take the replit Next.js template and make a simple blog. The goal of this project will be to learn to create reusable components and take advantage of Next’s SEO tools.
Creating a Project
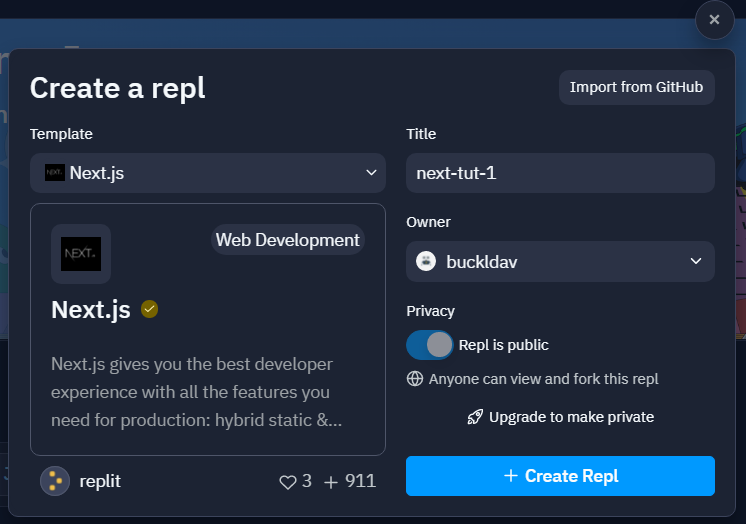
Visit https://replit.com. Create an account if you haven’t already. Then, click the blue Create Repl button and select the Next.js Template.
When your project is generated, the folder structure will look like this:
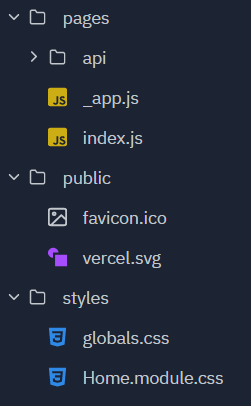 .
.
pages/
  api/
public/
styles/
Get to Know the Project Folders
public folder
This folder contains static files that need to be served (like the favicon, which can be accessed from
/favicon.ico).
pages and styles
folders
The other folders are pretty self explanatory. pages/ contains each page of your site (one
.js file per page). styles/ contains your CSS files.
We won’t be bothering with the .next/ and pages/api/ folders in this project.
Just know that the .next/ folder contains the built version of our project.
Pages
Modifying index.js
In Next.js, each page gets its own file. index.js is the page that is loaded when the site is
visited with no path in the URL.
Open index.js and modify it to only contain the following (you can replace everything with
this):
import Head from "next/head"
import Image from "next/image"

export default function Home() {
  return (
    <main>
      <Head>
        <title>My Next App | Home</title>
        <meta name="description" content="Generated by create next app" />
        <link rel="icon" href="/favicon.ico" />
      </Head>

      <h1>Home</h1>
    </main>
  )
}
What is a component?
A component is a group of HTML and JavaScript in a Next.js app. Sometimes it’s an entire
page (like index.js), sometimes it’s a section of a page, like a navigation bar. Here’s the
general format of a component:
export default function ComponentName() {
  // JavaScript Goes Here

  return <h1>HTML Goes Here</h1>
}
On line 4, you’ll see export default function Home() {, declaring a Home
component. Components’ functions are named with PascalCase (in this case Home).
You may have noticed the <Head> component. We can put our metadata in here and those
tags will be put in the <head> of the HTML document that is generated when we visit
this page.
Note that components can only return one HTML element (in this case, <main>). The rest
must be children of that element.
Create about.js
Duplicate the index.js file and call the new file about.js. Make sure the files
are at the same directory level. In about.js, change every instance of “Home” to “About”.
Routing
In Next.js, the file names determine the URL paths (known as routes). That means that files in the
pages/ directory should follow the kebab-case naming convention.
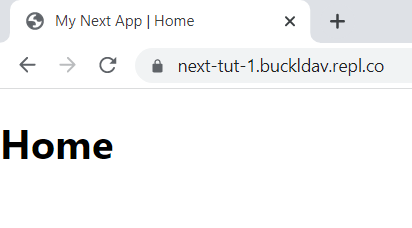
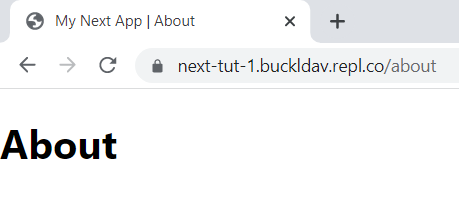
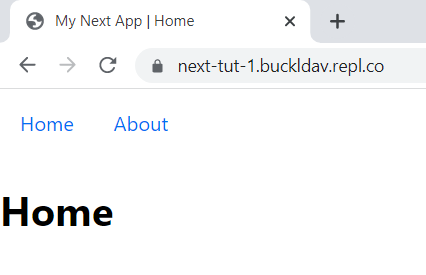
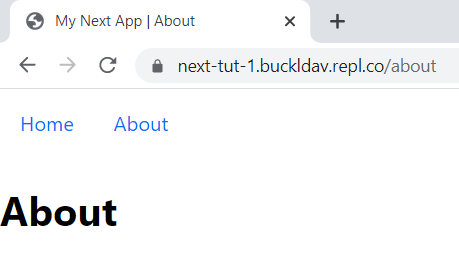
Here’s what the pages we’ve made look like in the browser. Notice that about.js is accessed
from the path /about in the URL.
App-Wide Layout - Creating a Navigation Component
Let’s add a navigation bar at the top of each page. We could go to index.js, make our navigation
bar, and copy it to about.js, but there is a better way. We will instead create a single “Nav”
component that can be reused on each page.
Creating Files and Folders
At the root of our directory, add a components/ folder. Within that folder, create a file
called Nav.js. In the styles/ folder, match that structure by creating a
components/ folder and a Nav.module.css file within that folder. The structure
should look like this:
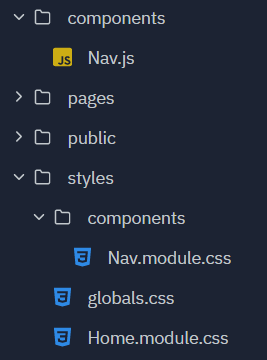
components/
  Nav.js
pages/
public/
styles/
  components/
    Nav.module.css
  globals.css
Home.module.cssCSS Modules
CSS modules allow you to add component-specific CSS Classes. Let’s create a .nav class and add
some basic styles to our styles/components/Nav.module.css file:
.nav {
  display: flex;
  flex-direction: row;
}

.nav a {
  display: inline-block;
  color: #0070f3;
  padding: 1em;
}
The CSS module can be imported as a JavaScript object and the class can be accessed with the .
operator. (This code already exists for you in Nav.js, so you don’t need to change anything).
// In components/Nav.js
import styles from "../styles/components/Nav.module.css"
...
<nav className={styles.nav}>
_app.js
So far, we have ignored pages/_app.js. All we need to know at this point is that this is the
file that loads the current page as its Component. We can add our Nav component
here to ensure that it appears on every page at the top.
import Nav from "../components/Nav.js"
import "../styles/globals.css"

function MyApp({ Component, pageProps }) {
  return (
    <>
      <Nav />
      <Component {...pageProps} />
    </>
  )
}

export default MyApp
You may notice the thing that looks like an empty tag (<>). This is a React Fragment, and is used because a
function can only return a single element. Therefore, a Fragment is used to wrap the components
in an “empty element”.
Result
Now, your pages should look like this:
Conclusion
Next.js is a great tool to create frontend applications. It allows you to organize your code and reuse layouts across different pages.
Finished code: https://replit.com/@buckldav/next-tut-1.
Learning Targets
Standard 2.2
- File structure and naming.